


Instructions for heat fusion joining of PPH fittings
 Jun 10, 2026|
 View:545
Heat fusion joining creates strong, reliable connections for PPH fittings. The process forms a seamless joint that resists leaks and lasts as long as the pipe itself — with no adhesives, no mechanical fasteners, and minimal maintenance. When done correctly, the bond at the joint is at least as strong as the pipe material itself.
| Feature | Heat Fusion (Butt & Socket) | Traditional Methods (Mechanical/Threaded) |
|---|---|---|
| Leak-Proof Integrity | Permanent and leak-proof | Potential for leaks over time |
| Durability | As durable as the pipe itself | Seals and gaskets can degrade |
| Environmental Impact | No adhesives, less waste | Solvents and sealants required |
| Maintenance | Minimal — joints are monolithic | Periodic re-tightening or resealing |
Heat fusion joining avoids harmful adhesives, reduces installation waste, and creates a safer working environment. XITA's β-PPH Pipe Fittings-DIN8077/8078 deliver trusted performance for demanding industrial applications.
Key Takeaways
Heat fusion joining creates strong, leak-proof connections for PPH fittings, ensuring long-term durability.
Use the right tools — pipe cutters, heat fusion machines, and alignment clamps — for clean cuts and precise joins.
Inspect and clean all surfaces before fusion to prevent contamination and weak bonds.
Follow correct heating and cooling times; overheating or underheating both compromise joint integrity.
Always maintain alignment during joining to prevent leaks and microcracks.
Perform visual inspections and pressure tests after fusion to confirm joint strength.
Regular maintenance and inspection of joints help catch issues early and extend system life.
Safety gear — gloves, goggles, and protective clothing — is essential throughout the process.
PPH Fittings: Tools and Materials
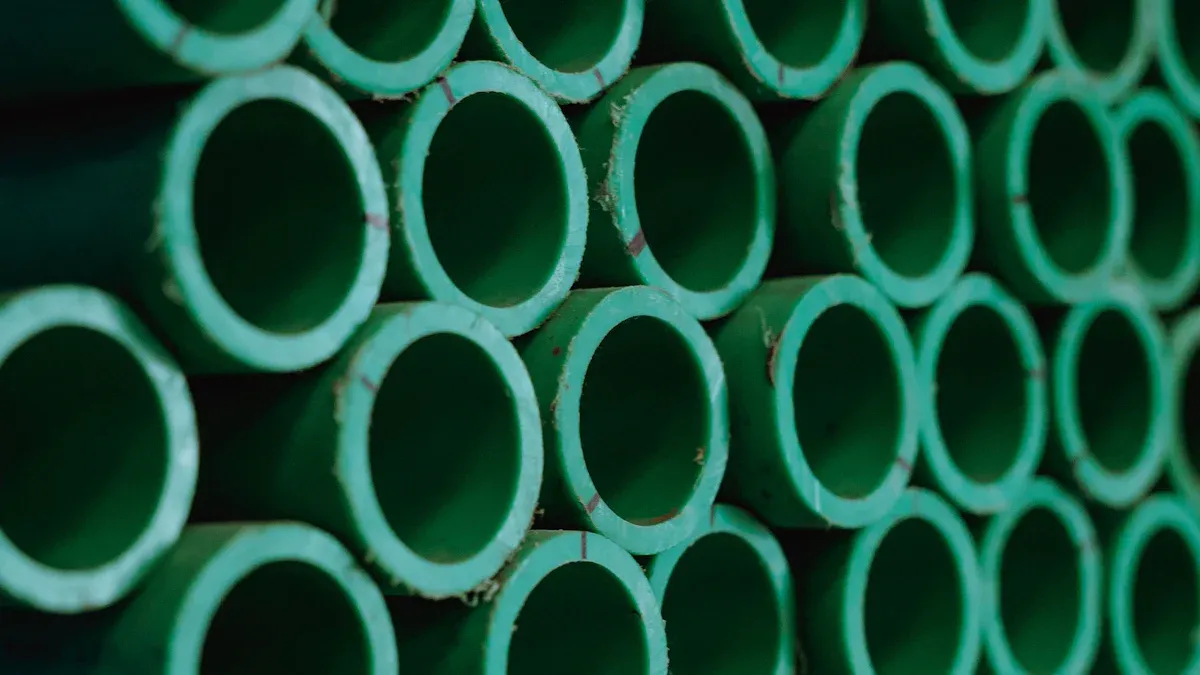
Selecting the right tools and materials is the first step toward successful heat fusion joining.
Proper equipment ensures clean cuts, precise alignment, and safe operation. Quality materials guarantee strong, leak-free joints that last the full service life of the system.
Essential Tools
Pipe Cutter
A pipe cutter slices PPH pipes cleanly and creates a straight edge — critical for a tight fusion joint. Use a cutter designed for plastic pipes to avoid cracks or uneven surfaces.
Heat Fusion Machine
The heat fusion machine heats pipe ends and fittings to the correct temperature, allowing the material to melt and bond. Machines come with adjustable settings for different pipe sizes and fusion methods.
Alignment Clamps
Alignment clamps hold pipes and fittings in place during heating and joining. They prevent movement and misalignment, which can cause weak joints or leaks.
Beveling Tool
A beveling tool shapes pipe ends — removing sharp edges and creating a smooth, angled surface so the melted material flows evenly during fusion.
Cleaning Supplies
Lint-free cloths and approved cleaning agents remove dirt, grease, and debris from pipe surfaces. Clean surfaces are essential for strong fusion bonds.
Safety Gear
Gloves, eye protection, and heat-resistant clothing protect workers from burns, fumes, and injuries. Always follow safety guidelines when operating fusion equipment.
Required Materials
β-PPH Pipe Fittings-DIN8077/8078
XITA's β-PPH Pipe Fittings-DIN8077/8078 are made from 100% virgin Polypropylene Homopolymer. They offer excellent chemical resistance and durability, meeting ISO 15874[1] and ASTM F2620[2] standards, and are suitable for industrial applications across a wide range of sectors.
Tip: Always choose fittings that match the pipe size and pressure rating for your specific project.
PPH Pipes (DN15–DN100)
PPH pipes in sizes DN15 to DN100 are compatible with β-PPH fittings. High rigidity and strength, combined with a smooth inner surface, reduce friction and prevent buildup. Key material properties are summarised below:
| Property | Details |
|---|---|
| Material Type | Polypropylene Homopolymer (PPH) |
| Structure | Semi-crystalline thermoplastic |
| Density | ~0.90 – 0.91 g/cm³ |
| Tensile Strength | Approx. 25–35 MPa |
| Operating Temperature | +5°C to 90–100°C |
| Melting Point | ~160–170°C |
| Pressure Rating | PN6 to PN16 (depending on size & SDR) |
| Chemical Resistance | Excellent (acids, alkalis, solvents) |
| Surface Finish | Smooth inner surface (low friction loss) |
| Weldability | Excellent (socket fusion, butt welding) |
| Standards | DIN 8077[3] / DIN 8078[4], ISO, ASTM |
PPH fittings and pipes are lightweight and easy to handle on site.
They resist UV and aging, making them suitable for outdoor installations.
Reliable sealing is achieved with fusion joints or O-rings.
High impact toughness ensures performance in demanding environments.
Marking Tools
Permanent markers or specialised marking tools identify insertion depth and alignment points. Accurate marking supports proper assembly and reduces errors.
Preparation Steps
Careful preparation before starting the heat fusion process is the foundation of strong, leak-free joints. Each step helps prevent mistakes and supports reliable long-term performance.
Inspection
Check for Defects
Inspect every PPH pipe and fitting before use. Look for cracks, scratches, or discoloration — examine corners and joints closely. Damaged parts can weaken the joint and cause leaks. Set aside any defective pieces for repair or replacement.
Verify Dimensions
Use a caliper or measuring tape to confirm diameter, wall thickness, and length match project requirements. Proper sizing ensures a tight fit and smooth fusion.
Cutting and Beveling
Proper Cutting Technique
Cut PPH pipe using a cutter designed for plastic materials. The cut must be straight and clean — uneven cuts lead to poor alignment and weak joints. Hold the pipe steady, apply even pressure, and remove any burrs with a deburring tool.
Beveling Pipe Ends
Use a beveling tool to remove sharp edges and create a smooth, angled surface. A proper bevel allows the melted material to flow evenly during fusion and improves both the strength and appearance of the joint.
Cleaning and Marking
Clean Surfaces
Choose a cleaning method based on the contamination level:
Manual scrubbing: Use a soft nylon-bristle brush to gently scrub surfaces, focusing on corners and joints. Avoid hard-bristle brushes to prevent scratches.
Ultrasonic cleaning: Place fittings in a tank with cleaning solution — high-frequency sound waves dislodge dirt. Rinse thoroughly afterward.
High-pressure water cleaning: Apply water at 500–2,000 psi to remove tough deposits, focusing on elbows and connection points.
After cleaning, dry the fittings completely. Air-dry small parts in a well-ventilated area; use compressed air for larger fittings. In critical environments such as pharmaceutical facilities, drying ovens may be used.
After cleaning, inspect the fittings again for any remaining dirt, debris, scratches, or cracks. If damage is found, repair or replace the fitting before proceeding.
Mark Insertion Depth
Draw a clear line on the pipe where it will enter the fitting. Accurate marking maintains proper alignment, prevents over-insertion, and supports consistent assembly.
Heat Fusion Methods for PPH Fittings
Heat fusion permanently joins thermoplastic pipes and fittings by heating and pressing them together. There are three main methods for PPH fittings: socket fusion, butt fusion, and saddle fusion. Each suits different applications and pipe sizes.[2]
Note: Always follow the manufacturer's instructions for each fusion method to ensure safety and reliable results.
Comparison of Fusion Methods
| Method | Description | Best For |
|---|---|---|
| Socket Fusion | Heats the outside of a pipe and the inside of a fitting, then inserts the pipe into the fitting. | Small-diameter pipes (up to DN63). No external clamps needed. Resists pull-out forces. |
| Butt Fusion | Joins two pipe ends by heating them to their melting point and pressing them together. | Larger-diameter pipes. Leak-proof, long-lasting joints. No adhesives needed. |
| Saddle Fusion | Attaches a saddle-shaped fitting to an existing pipe by heating and applying pressure. | Branch connections. Requires minimal excavation. Good for repairs and retrofits. |
Socket Fusion
Suitable Pipe Sizes
Socket fusion works best with pipes up to DN63. It is ideal for installations where space is limited and flexibility is important.
Heating and Joining Steps
Cut and bevel the pipe end.
Clean the pipe and fitting surfaces.
Mark the insertion depth on the pipe.
Heat the outside of the pipe and the inside of the fitting simultaneously using the socket fusion tool.
Once heated, quickly insert the pipe into the fitting up to the marked depth.
Hold the assembly steady until it cools.
Tip: Do not twist or move the pipe during cooling — this creates a strong, uniform joint.
Butt Fusion
Pipe Alignment
Proper alignment is critical. Adjust the clamping fixture so the end faces of both pipes line up perfectly — axes must coincide, with maximum misalignment not exceeding 10% of the pipe wall thickness. This prevents weak joints and ensures the connection handles pressure correctly.
Heating Tool Temperature
Set the heating plate to 260 ± 10°C — the optimal temperature for welding PPH fittings.
| Temperature Range (°C) | Effect on Joint |
|---|---|
| 260 ± 10 | Optimal for welding PPH fittings |
| < 255 | May cause incomplete bonding and weak welds |
| > 270 | Can damage the pipe surface and make the joint brittle |
Achieving the Melt Bead
Heat the pipe ends until a uniform melt bead of 2–4 mm height forms. This bead confirms sufficient melting for a strong bond.
Fusion Pressure
Press the pipe ends together under constant welding pressure — sufficient for full contact and fusion but not so high that it deforms the pipe. Hold the pressure until the joint cools completely.
Note: Clean and face the pipe ends before heating. Align the ends perfectly. Heat until a bead forms, press together, then let cool undisturbed.
Saddle Fusion
Tool Centering
Centre the saddle fusion tool accurately over the branch connection point. Use alignment marks to help position the tool — accurate centering ensures a tight, leak-free joint.
Clean, Dry Location
Ensure both the pipe surface and the saddle fitting are clean and dry. Heat both surfaces evenly, then press the saddle fitting onto the pipe and hold in place until the joint cools.
Tip: Saddle fusion requires less excavation than other methods, making it an excellent choice for adding branches to buried or hard-to-reach pipes.
Fusion Process Steps
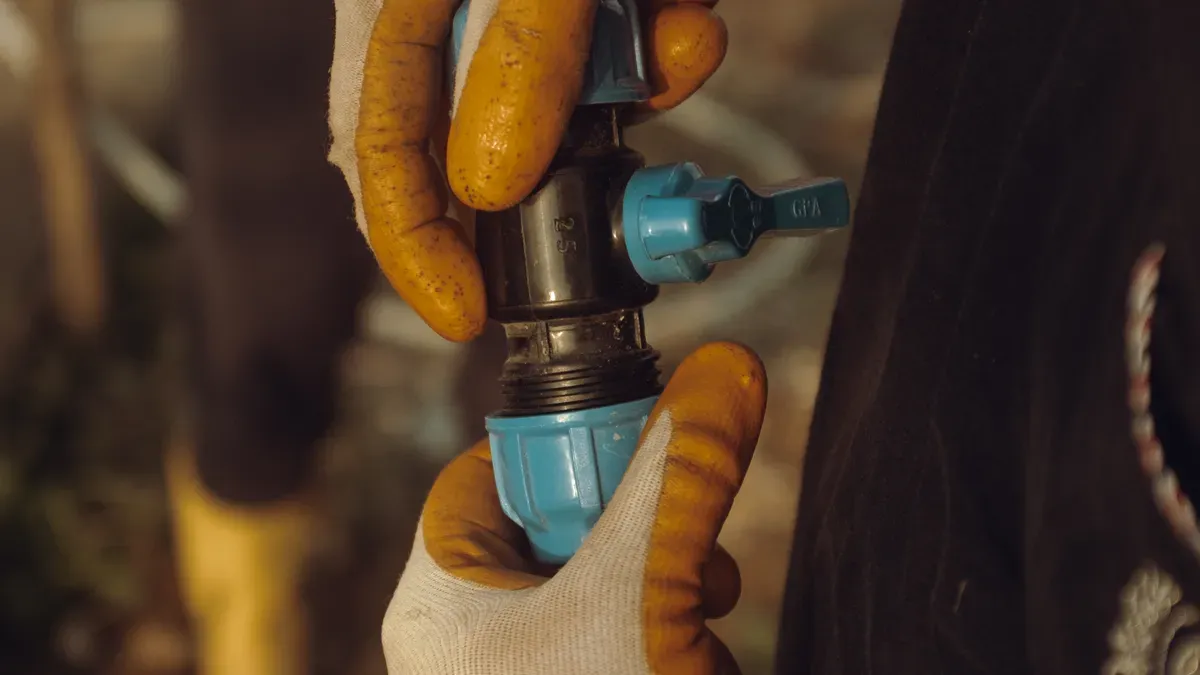
The three stages of heat fusion — heating, joining, and cooling — each require careful attention.
The fusion process for PPH fittings involves three stages: heating, joining, and cooling. Each requires careful attention to ensure strong, leak-free connections.
Stage 1 — Heating
Set the Correct Temperature
The fusion machine must reach approximately 260°C for PPH material, allowing both surfaces to melt evenly. Too low and the materials will not bond; too high and the pipe or fitting may deform or burn.
Tip: Always verify the machine's temperature setting before starting. Use the machine's digital display or a separate thermometer for accuracy.
Heating Time
Heating time depends on pipe size and wall thickness. Too little heating causes weak joints; too much causes material degradation. A typical heating sequence:
Place the pipe and fitting onto the preheated fusion tool.
Wait until the surfaces become soft and molten with a glossy appearance.
Remove both parts from the heating tool quickly and carefully.
Note: Do not touch the heated surfaces with your hands or tools — contamination weakens the joint.
Stage 2 — Joining
Immediate Assembly
After heating, join the pipe and fitting immediately. Delays cause the surfaces to cool and reduce bond strength. Insert the pipe into the fitting up to the marked depth in one smooth, straight motion — do not twist or turn during insertion.
Maintain Alignment and Pressure
Apply gentle, even pressure to keep the pipe and fitting together. Use alignment clamps where available. The pressure should ensure full contact without causing deformation. Hold the joint in place until initial cooling begins.
Stage 3 — Cooling
Cooling Time
The joint must cool completely before handling or applying pressure. Larger pipes require more time. Allowing the joint to cool naturally ensures the material solidifies evenly for a durable connection.
Avoid Movement
Keep the pipe and fitting still until the joint has fully set. Do not apply any force or stress during this time. Once cooled, inspect visually for a uniform bead and proper alignment.
Reminder: Only handle or pressure-test the system after all joints have cooled completely.
| Step | Action | Key Requirement |
|---|---|---|
| 1. Heating | Set correct temperature; heat pipe/fitting for recommended time | 260 ± 10°C; uniform glossy surface |
| 2. Joining | Immediately insert pipe into fitting; maintain alignment and pressure | No twisting; even pressure applied |
| 3. Cooling | Allow joint to cool fully without movement | No force applied until fully set |
Inspection and Testing
Inspection and testing confirm that each joint is strong, safe, and leak-free before the system enters service.
Visual Inspection
Uniform Bead
A properly fused PPH joint shows a uniform melt bead around the connection. According to ASTM F2620[2], the bead must look consistent and even — no gaps, thin spots, or excess material. The shape should be smooth and continuous, indicating that the pipe and fitting have melted and bonded correctly.
Tip: Use a flashlight to check the entire bead. Good lighting helps reveal small defects.
Signs of Poor Fusion
Poor fusion leads to weak joints and leaks. Look for these warning signs:
Irregular or uneven bead shape
Gaps or voids in the bead
Burn marks or discoloration
Cracks or splits near the joint
Bead that is too small or missing entirely
If any of these signs are present, cut out the joint and repeat the fusion process.
Leak Testing
Pressure Test
A pressure test uses air or water to check joint strength:
Seal the ends of the pipe section.
Fill the pipe with air or water.
Increase pressure to the recommended test value (typically 1.5× the working pressure).
Hold the pressure for a set time, often 30 minutes.
Monitor for any pressure drop.
Water Test
Fill the pipe with clean water. Dry the outside of the joint and watch for water droplets or damp spots. Even a small leak means the joint requires repair.
| Test Type | What It Checks | Pass Criteria |
|---|---|---|
| Pressure Test | Joint strength and leaks | No pressure drop over test period |
| Water Test | Visible external leaks | No moisture observed outside the joint |
Note: Always follow safety rules during testing. Wear gloves and eye protection.
Common Mistakes and Troubleshooting
Understanding common errors and knowing how to troubleshoot them helps maintain system performance and safety.
Frequent Errors
| Mistake | Result | Prevention |
|---|---|---|
| Underheating | Incomplete bonding, leaks | Verify machine temperature before starting |
| Overheating | Deformation, brittle joint | Use a thermometer; do not exceed 270°C |
| Misalignment | Weak points, microcracks | Use alignment clamps; mark insertion depth |
| Contaminated surfaces | Poor fusion, leaks | Clean thoroughly; inspect under bright light |
| Premature movement | Microcracks, joint failure | Allow full cooling before any handling |
Important: Always inspect and clean surfaces before fusion. Use a flashlight to check for hidden debris or moisture.
Troubleshooting
Fixing Weak Joints
Weak joints stem from improper heating, misalignment, or contaminated surfaces. To fix a weak joint: cut out the affected section; prepare new pipe and fitting ends by cleaning and beveling; ensure correct heating time and temperature; use alignment clamps; then join and allow to cool without movement. Proper installation techniques — including expansion loops and sliding supports — distribute stress evenly and protect joints from water hammer damage.
Addressing Leaks
Leaks at joints are usually caused by installation errors or material fatigue. Identify the leaking joint through visual inspection or pressure testing, remove the faulty section, clean and prepare new surfaces, then repeat the heat fusion process following the recommended steps.
Note: Regular inspection and maintenance help detect issues early. Reliable fusion joints depend on careful preparation and attention to detail.
Safety Precautions
Following proper safety precautions protects workers, equipment, and the workspace throughout the heat fusion process.
Personal Protection
Gloves and Eye Protection
Heat-resistant gloves protect hands from burns and sharp edges. Safety glasses or goggles shield eyes from hot splashes, debris, and fumes. Always check gloves and goggles for damage before starting work.
Protective Clothing
Wear long-sleeved shirts and trousers made from non-flammable materials. Closed-toe shoes or boots add protection. Avoid loose clothing or jewellery that could catch in tools or equipment.
Equipment Safety
Electrical Safety
| Electrical Safety Check | Status |
|---|---|
| Power cords and plugs undamaged | ☐ |
| Proper grounding in place | ☐ |
| Hands and work area dry before plugging in | ☐ |
| Machine turned off before cleaning or adjustments | ☐ |
Tool Storage
Store all tools in a clean, dry place after use. Keep sharp tools such as pipe cutters in protective cases. Regularly check tools for damage and repair or replace as needed.
Workspace Safety
Fire Prevention
Keep flammable materials — paper, rags, solvents — away from the work area. Have a fire extinguisher nearby and know how to use it. Allow all tools to cool before storing them.
Alert: Never use heat fusion equipment near open flames or sparks.
Ventilation
Good ventilation is essential when working with heated plastics. Fumes can build up in enclosed spaces. Open windows and doors, or use exhaust fans to keep air moving. Take regular breaks outdoors in confined work areas.
Leak-Free Joint Tips
Creating leak-free joints requires careful attention during installation and ongoing maintenance after assembly.
Best Practices During Installation
Use only compatible, certified pipes and fittings from the same system.
Prepare tools and work area — keep everything clean and dry.
Cut pipes squarely and deburr edges for a perfect fit.
Follow the correct heating times and temperatures for each joint.
Avoid overheating or underheating to prevent joint failure.
Clean all joint surfaces before welding to remove dirt and grease.
Allow joints to cool naturally without disturbance.
Plan for thermal expansion by including loops and supports.
Support pipes properly to prevent stress on joints.
Test the system under pressure before putting it into service.
Train all installers and follow manufacturer guidelines at all times.
Tip: Consistent heating and cooling help prevent microcracks and leaks. A well-aligned joint distributes pressure evenly and resists movement over time.
Ongoing Maintenance
Periodic Inspection
Regular inspection helps catch problems early. Look for signs of leaks around joints and fittings, drops in water pressure, cracks, discoloration, or physical damage. Inspect the system after any major temperature changes or repair work.
Preventive Care
Keep the water supply free from debris and sediment. For hot water systems, monitor temperature settings regularly to avoid overheating. Ensure all supports and brackets remain secure, and keep the area around the piping free from contamination.
About XITA β-PPH Pipe Fittings
XITA is a trusted manufacturer and supplier of β-PPH Pipe Fittings-DIN8077/8078, with a reputation for quality and innovation in the thermoplastic piping industry.
Product Features
| Standard / Certification | Description |
|---|---|
| DIN 8077[3] | Dimensional standard for polypropylene (PP) pipes |
| DIN 8078[4] | General quality requirements for PP pipes |
| ISO 15874[1] | International standard for PP plastic piping systems |
XITA β-PPH Pipe Fittings offer excellent corrosion resistance, perform across a temperature range of -20°C to 110°C, and are available from DN15 to DN100 with customisation options for special requirements.
Application Areas
Chemical processing: Handles acids, alkalis, and solvents for safe, efficient plant operations.
Marine environments: Resists saltwater and moisture — suitable for ships, docks, and coastal facilities.
Water treatment: Does not contaminate water and withstands pressure changes for reliable delivery and treatment.
Global Export and Customer Support
| Export Region | Customer Support |
|---|---|
| North America | Comprehensive pre-sales technical consultation |
| Europe | Detailed product documentation |
| Middle East | Responsive after-sales support |
| Southeast Asia | Long-term partnerships with international distributors |
| Australia | Full product range availability |
Get a Quote for β-PPH Pipe Fittings
Need certified, industrial-grade PPH fittings that meet DIN8077/8078 and ISO standards? Our team is ready to assist with technical consultation, product specifications, and custom sizing from DN15 to DN100.
Request a Quote NowFAQ
What is heat fusion joining for PPH fittings?
Heat fusion joining uses controlled heat to melt PPH pipe and fitting surfaces together, forming a permanent, leak-proof bond without glue or mechanical fasteners. The completed joint is monolithic and as strong as the pipe material itself.
Which fusion method should I use for my project?
Choose socket fusion for small pipes (up to DN63), butt fusion for larger-diameter pipes, and saddle fusion for branch connections and retrofits. Always follow manufacturer instructions for each method.
How do I know if a fusion joint is strong?
Inspect the joint for a uniform melt bead — no gaps, cracks, or discoloration. Then conduct a pressure test or water test to confirm leak integrity before putting the system into service.
What safety gear is needed for heat fusion?
Heat-resistant gloves, safety goggles, long-sleeved non-flammable clothing, and closed-toe footwear are required. Ensure good ventilation in the work area at all times.
Can PPH fittings be used outdoors?
Yes. PPH fittings resist UV exposure and aging, making them well-suited for outdoor and exposed installations.
What should I do if a joint leaks?
Identify the leaking joint, cut out the affected section, clean and prepare fresh pipe and fitting surfaces, then repeat the heat fusion process following the recommended procedure.
Are XITA β-PPH Pipe Fittings certified?
Yes. XITA β-PPH Pipe Fittings meet DIN 8077[3], DIN 8078[4], ISO 15874[1], and SGS/GB/T standards.
Can other brands be used with XITA fittings?
Other brands may be compatible if they meet the same material standards. Always check specifications and consult the manufacturer for guidance before mixing brands.
ISO 15874-1:2013 — Plastics piping systems for hot and cold water installations: Polypropylene (PP) — Part 1: General. International Organization for Standardization (ISO).
ASTM F2620 — Standard Practice for Heat Fusion Joining of Polyethylene Pipe and Fittings. ASTM International.
DIN 8077:2008 — Polypropylene (PP) pipes: PP-H, PP-B, PP-R, PP-RCT — Dimensions. Deutsches Institut für Normung (DIN) / AFNOR.
DIN 8078:2008 — Polypropylene (PP) pipes: PP-H, PP-B, PP-R, PP-RCT — General quality requirements and testing. Deutsches Institut für Normung (DIN) / AFNOR.

